Associate job with server and alert configuration
In the EDC application, you need to associate your jobs with external servers where the extracted data lands. Only the jobs associated with the properly configured servers can successfully run and automatically extract and place data on the predefined server of the sponsor. It is also important to associate the job with the alert configuration to notify interested parties of the data extraction operations.
Before performing the association procedure, ensure the following:
-
The respective file server is added in ADMIN.
-
The respective alert configuration is added in EDC.
Important
To associate the server with jobs, you must have the Write permission for the respective job category granted to your user role via ADMIN.
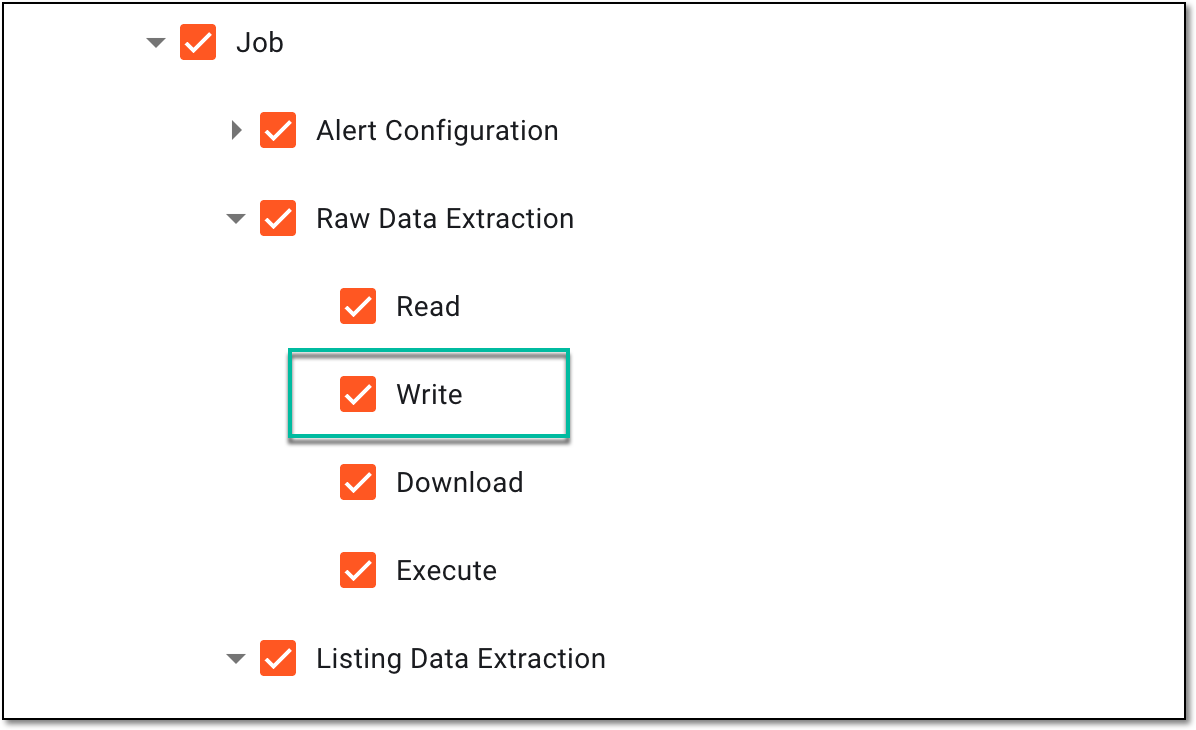 |
-
In the EDC application header, select the JOB tab.
-
In the left pane of the page that opens, select the tab representing the needed data extraction category.
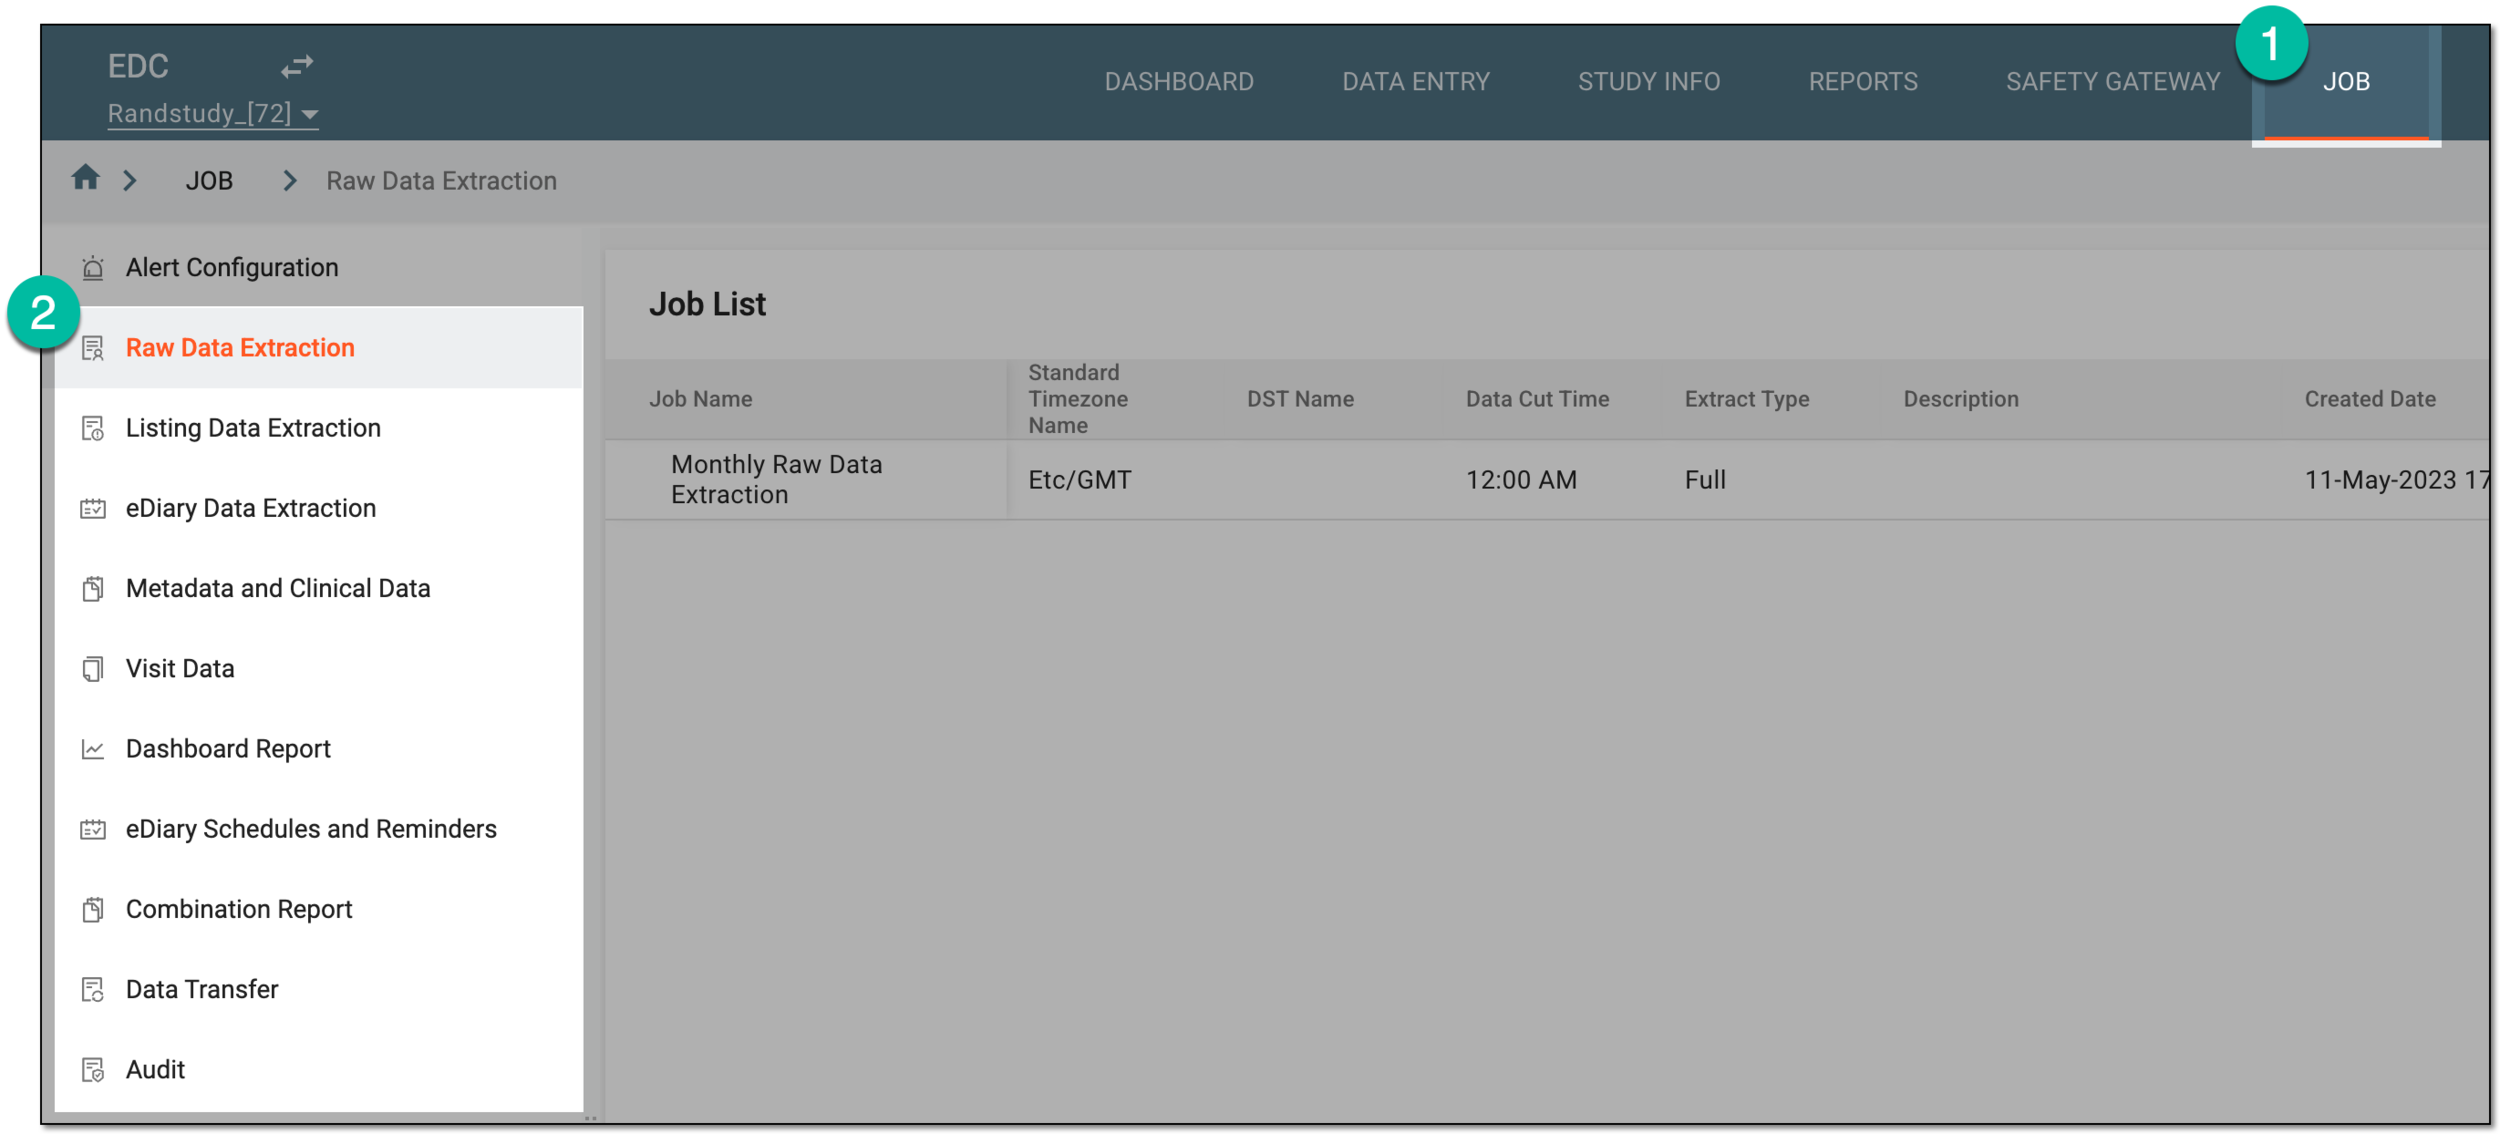 Figure 2. Accessing data extraction job configuration
-
On the page that opens, in the Job List table, locate the job of your interest and in the Actions column next to it, select Associate
 .
. Figure 3. Selecting option to associate job with server
-
In the Job Server and Server Alert dialog that opens, complete the fields as explained in the following table.
 Figure 4. Associating data extraction job with server
Tip
In the following table, mandatory elements are marked with an asterisk (*).
Element
Details
Standard Timezone Name
Represents the time zone selected upon adding the job that you are associating with the server.
DST Name
Represents the Daylight Saving Time (DST) selected upon adding the job that you are associating with the server.
Data Cut Time
Represents the time (based on the set time zone and DST) when the system extracts the data to the server according to the job that you are associating with the server.
File Server Name*
From the dropdown list, select one of the following:
-
An external server name: to extract data files to the preconfigured server whose exact destination is defined via the Export Path field.
-
eTMF: to extract data files to the eTMF directory that you define via the Export Path field.
This option is only available for the audit trail data extraction
                                        job.
Root Path
Represents a portion of the destination path to the server where the extracted data is to be stored. For instance, this portion can stand for the study name or company name. This value is autopopulated based on the selected file server.
Export Path*
Do one of the following:
-
Enter the destination path to the server where the extracted data is stored.
This option is only available if you select an external file server in the File Server Name field. -
Select the directory of the eTMF file management storage where the extracted data must land.
This option is only available if you select eTMF in the File Server Name field.
Alert Name
From the dropdown list, select the alert configuration to be triggered by the data extraction job.
Actual Extract Time
Select the duration of the data extraction process.

Select the plus symbol to add more servers to your job. This way, the system extracts data to multiple servers at once when running the job.

Select the minus symbol next to the server association line to remove it from your configuration. This way, the association is halted and the system no longer extracts data to the removed server when running the job.
SAVE
Select
 to implement the changes.
CANCEL
Select
 to discard the changes, close the dialog, and return to the Job List table.
 -
Upon saving, the job is associated with the selected server and alert configuration. Now, when the data is extracted from EDC, it is transferred to the selected server path, and the assignee of the alert is notified accordingly.