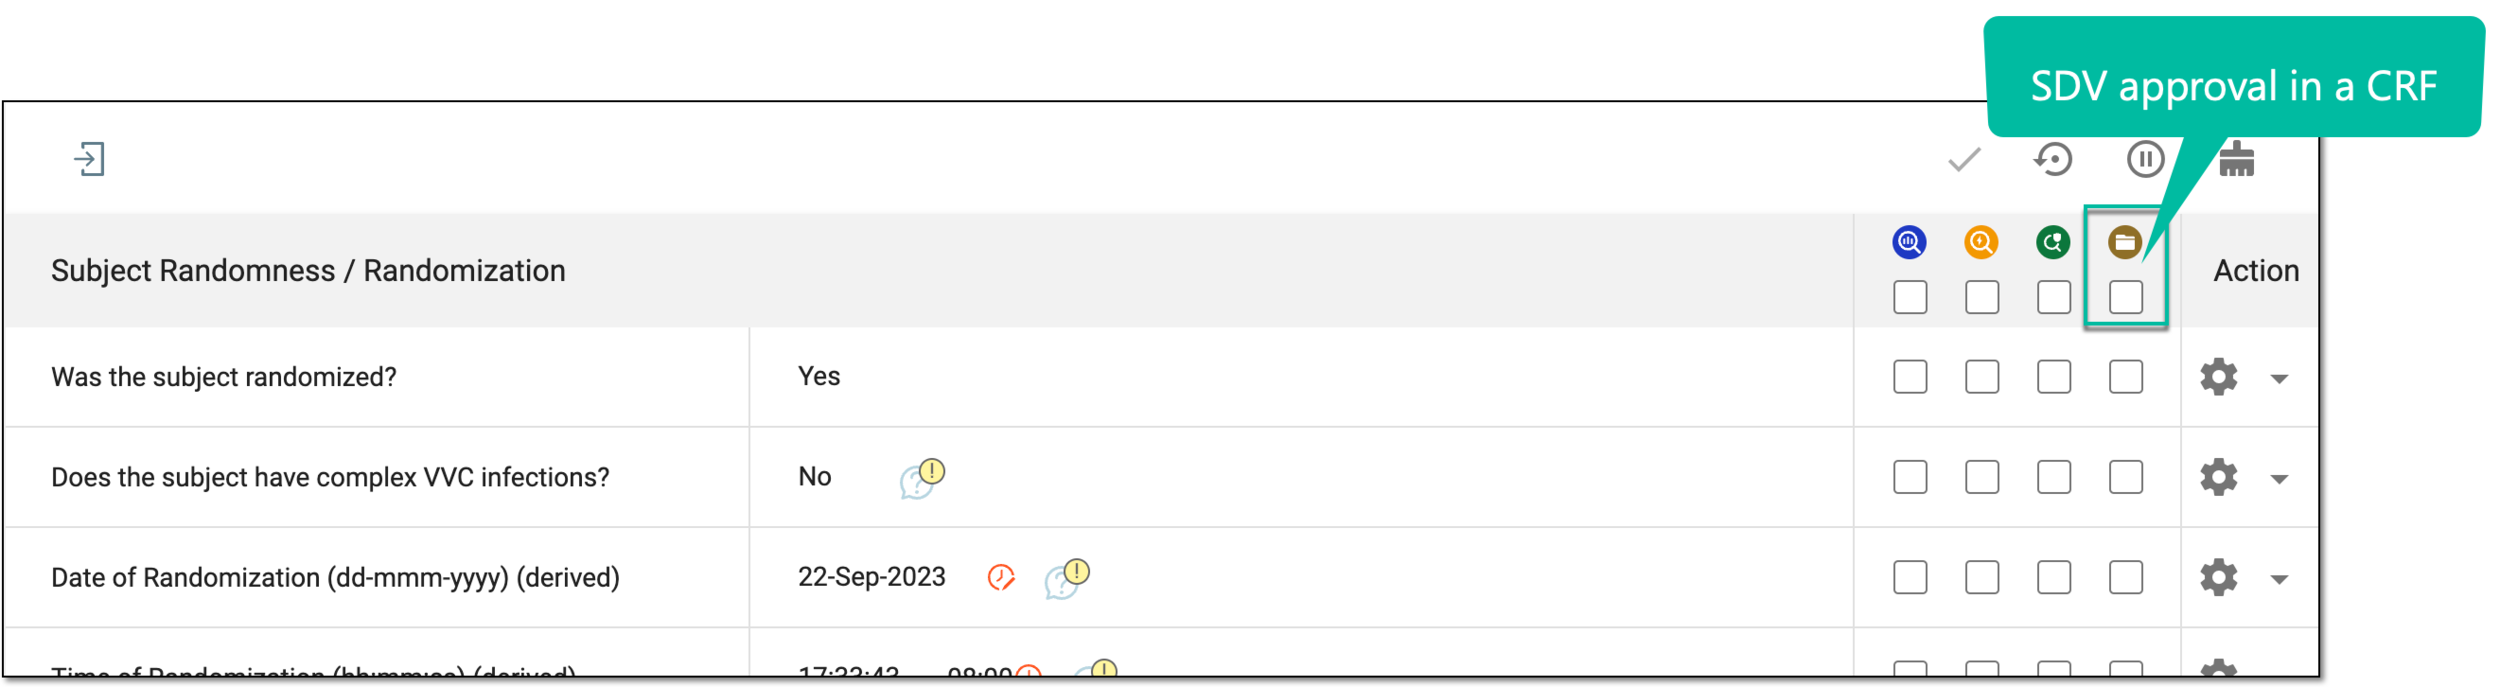
Copy global SDV setting between lifecycles
Source Data Verification (SDV) relates to the process of ensuring data accuracy and integrity within a clinical trial by reviewing and comparing the data recorded in the source documents, such as laboratory results, medical history, adverse event records, and so on against the data captured in the case report forms (CRFs). Once the SDV process is completed, the responsible personnel can review the findings and approve SDV.
In EDC, you can copy your configured global SDV setting between different lifecycles—from development (DEV) to testing (UAT) and production (PROD). This saves time on configuring the same details over and over again when setting up a new environment.
Important
You must have the same current CRF version in both environments to be able to copy the configurations.
-
From the EDC application toolbar, select the UAT or PROD lifecycle and the necessary role.
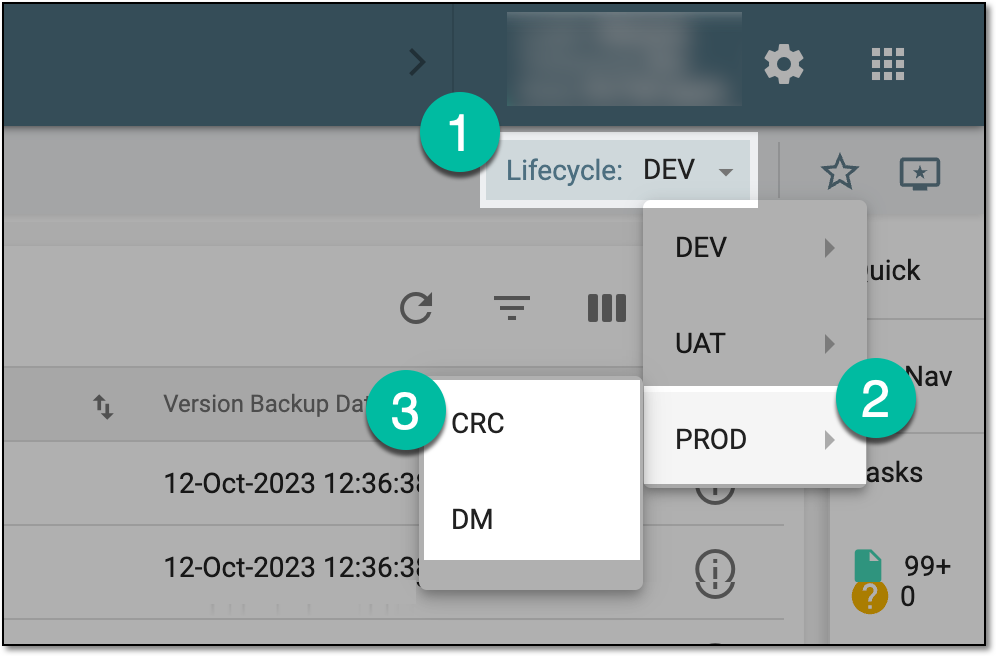 Figure 1. Accessing PROD lifecycle
-
In the EDC application header, select the STUDY INFO tab.
-
In the left pane of the page that opens, expand SDV and select the SDV Setting tab.
-
On the page that opens, from the workspace toolbar, select SDV Setting
 .
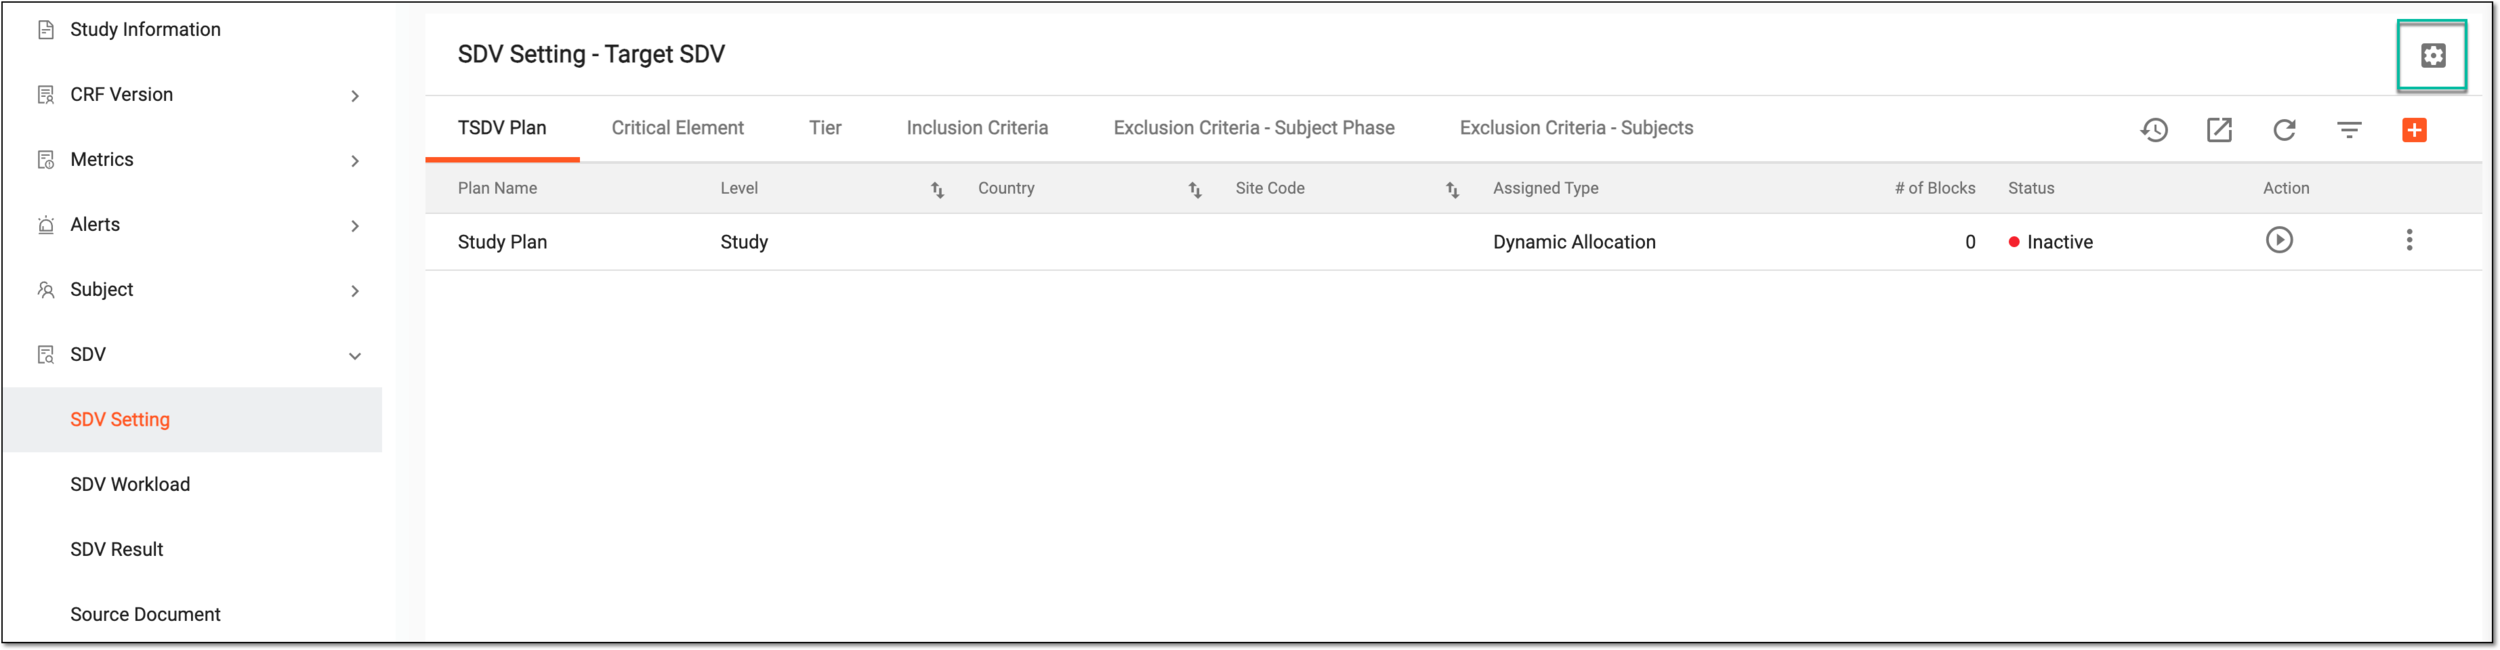 Figure 2. Accessing SDV setting types
-
In the SDV Setting dialog that opens, select the Global SDV type and select
 .
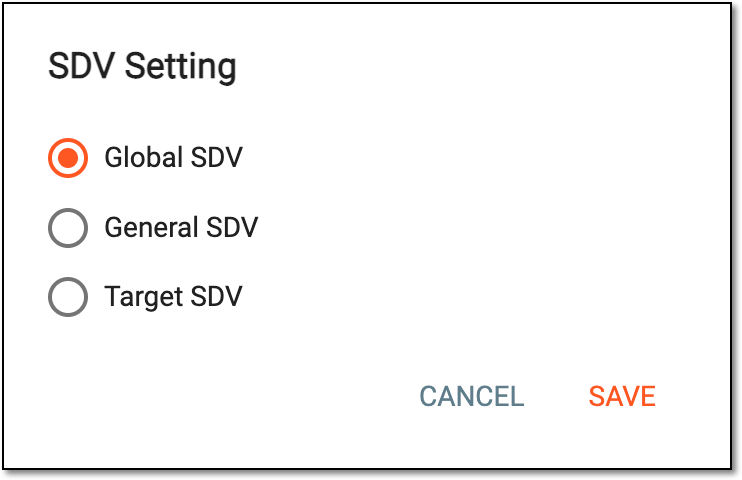 Figure 3. Selecting SDV type
-
Once the Global SDV is set for the study, from the same toolbar, select Copy Configuration from
 .
 Figure 4. Selecting option to copy global SDV setting
-
In the Copy Configuration from dialog that opens, select the lifecycle from which you want to copy the alert configuration. For UAT, only the DEV lifecycle can be selected; for PROD, either DEV or UAT can be selected. Then select the configuration to copy and click SAVE.
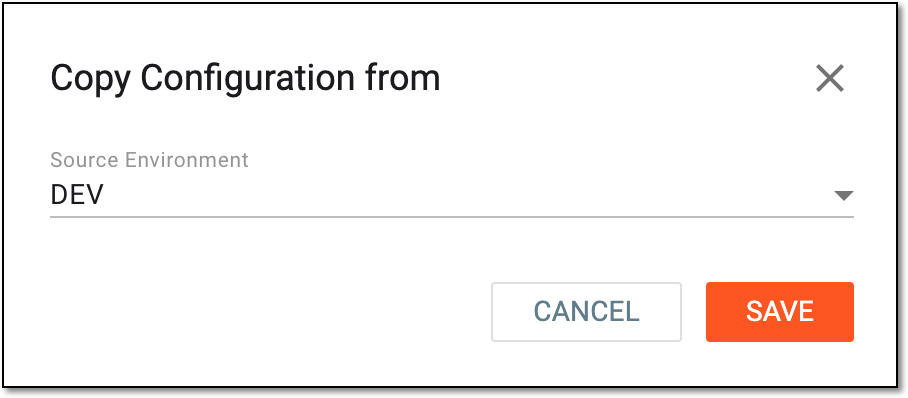 Figure 5. Selecting lifecycle to copy global SDV setting
-
In the confirmation dialog that opens, select CONFIRM to acknowledge that you understand that the current SDV settings are going to be overwritten.
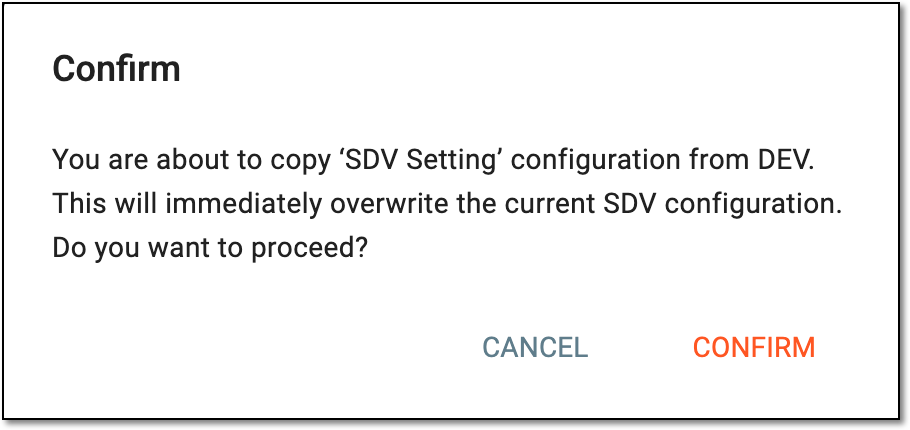 Figure 6. Confirming copying global SDV setting
-
Once saved, from the workspace toolbar, select Execute
 .
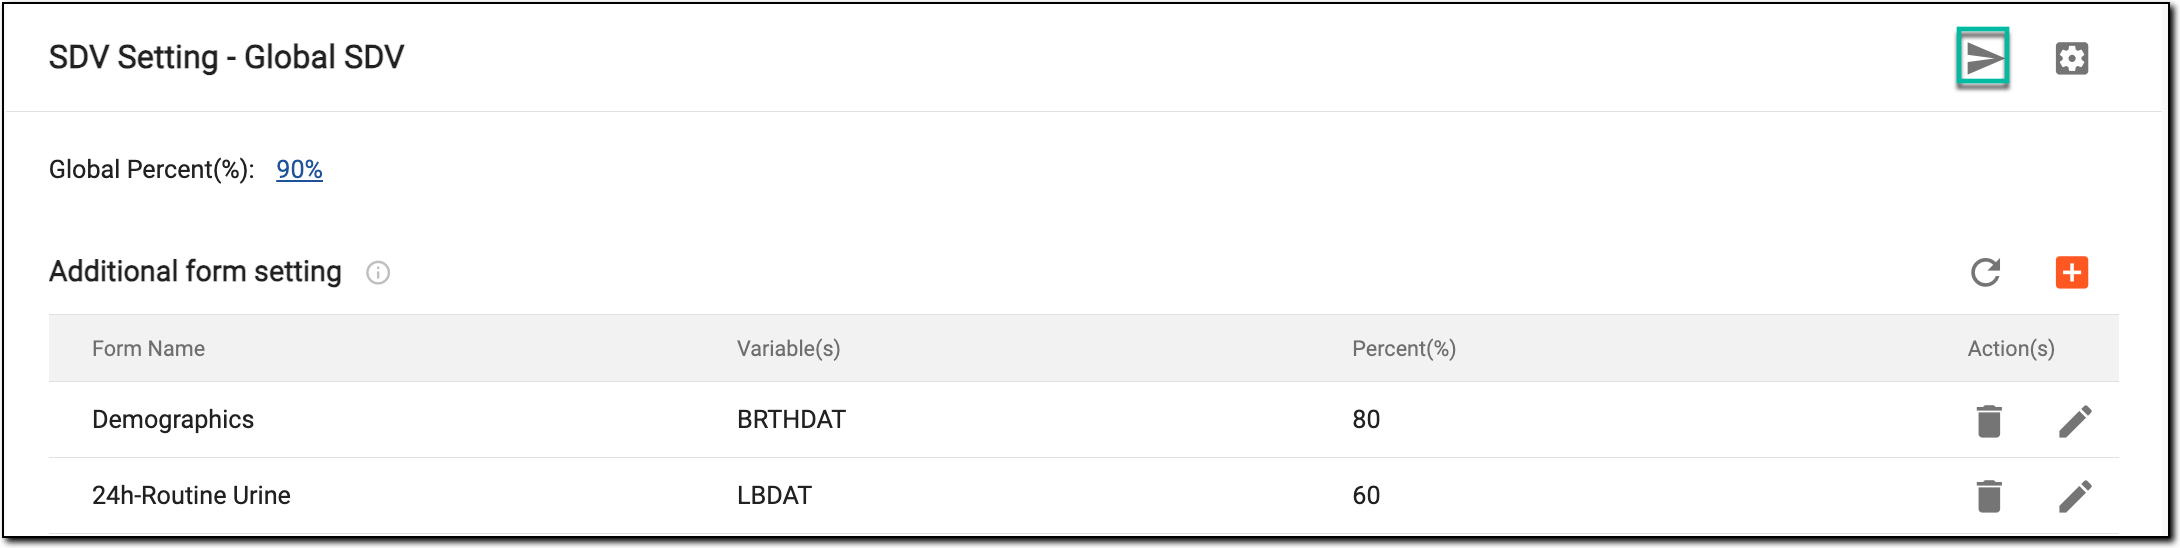 Figure 7. Selecting to execute SDV setting
Upon saving and execution, SDV approval becomes required for the respective percentage of CRFs upon completion of data entry.